AI is hot these days, and OpenAI has an excellent and powerful API for all to use! They have a nice tutorial for getting started, with a source repo built in ReactJs. I wanted to do this with Vue3 and share with the world. So without further ado, here's how to setup a starter app with OpenAI using Vue3 and Expressjs.
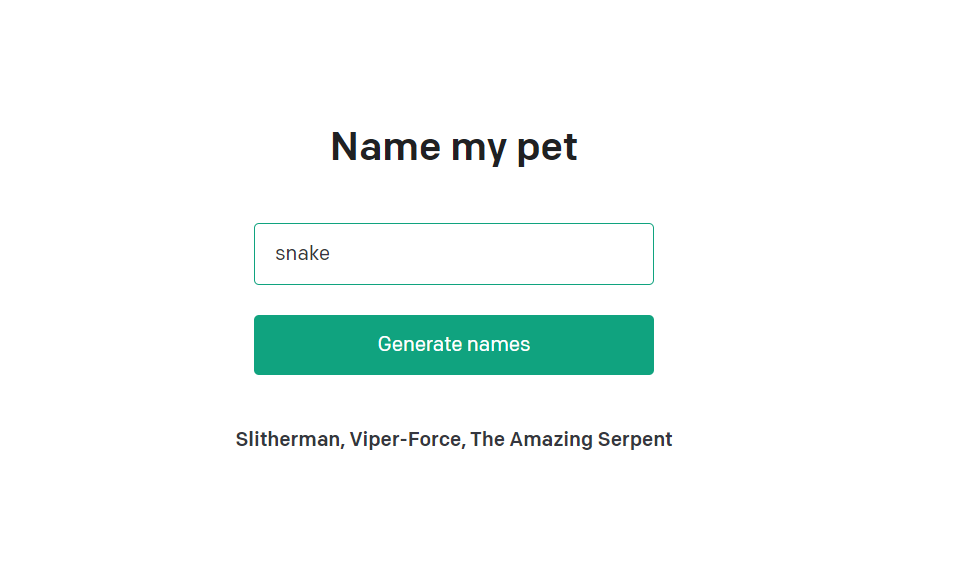
You can find more about OpenAI's quickstart guide example here. This example app takes in an animal and spits out 3 suggestions for a pet name. The quickstart app is built on ReactJs and Nextjs. This guide will rewrite the quickstart guide using Vue3 and ExpressJs. Why, because I really like Vue3! 🤓
Prerequisite: Setting up an app with Vue3 and ExpressJs
This tutorial picks up from where our last tutorial left off. If you want to setup your app from scratch, please see the below link:
 Andrew Akagawa
Otherwise, you can skip ahead by cloning the repo from the link below:
git clone https://github.com/Initial-Apps/vue3-express.gitSetting up the client side
Let's first start with some housekeeping. We'll give our app a new directory name and then move into our new repo:
mv vue3-express openai-quickstart-vue3
cd openai-quickstart-vue3
Now let's start the client side. Move into your new apps client folder, install our modules, and run the dev script:
cd client
npm install
npm run dev
Hooray, we should now have a Vue starter app running! Navigate to http://localhost:5173/ to see it.
Setting up our OpenAI credentials
Now lets start to work on on server. Open a new terminal, move in the server folder, and install our npm modules.
cd server
npm install
Next, let's make sure our environment credentials are hidden. In the server directory, open your .gitignore file, add the following to the end of the file and save:
# env files
.env
This will keep your API credentials hidden to your git repo.
Next, create a new file and name it .env. Copy and paste the following into your .env file. Add your OpenAPI key.
# Do not share your OpenAI API key with anyone! It should remain a secret.
OPENAI_API_KEY=
Setting up ExpressJs
Now, let's setup our server script. Open the server.js file and rewrite as follows:
const express = require('express')
const app = express()
const port = 3000
const bodyParser = require('body-parser');
app.use(bodyParser.json());
app.use(bodyParser.urlencoded({ extended: false }));

require('dotenv').config(); // needed to read our environment variables

// the next 3 const integrate the openai API
const {Configuration, OpenAIApi} =  require("openai");
const configuration = new Configuration({
  apiKey: process.env.OPENAI_API_KEY,
});
const openai = new OpenAIApi(configuration);

// this post function is a taken from openai quickstart example, but modified to work with expressjs
app.post('/api/generator', async (req, res) => {
  if (!configuration.apiKey) {
      res.status(500).json({
          error: {
              message: "OpenAI API key not configured, please follow instructions in README.md",
          }
      });
      return;
  }

  const animal = req.body.animal || '';
  if (animal.trim().length === 0) {
      res.status(400).json({
          error: {
              message: "Please enter a valid animal",
          }
      });
      return;
  }

  try {
      const completion = await openai.createCompletion({
          model: "text-davinci-003",
          prompt: generatePrompt(animal),
          temperature: 0.6,
      });
      res.status(200).json({ result: completion.data.choices[0].text });
  } catch(error) {
      // Consider adjusting the error handling logic for your use case
      if (error.response) {
          console.error(error.response.status, error.response.data);
          res.status(error.response.status).json(error.response.data);
      } else {
          console.error(`Error with OpenAI API request: ${error.message}`);
          res.status(500).json({
              error: {
              message: 'An error occurred during your request.',
              }
          });
      }
  }
  function generatePrompt(animal) {
  const capitalizedAnimal =
      animal[0].toUpperCase() + animal.slice(1).toLowerCase();
      return `Suggest three names for an animal that is a superhero.

      Animal: Cat
      Names: Captain Sharpclaw, Agent Fluffball, The Incredible Feline
      Animal: Dog
      Names: Ruff the Protector, Wonder Canine, Sir Barks-a-Lot
      Animal: ${capitalizedAnimal}
      Names:`;
  }
})

app.listen(port, () => {
  console.log(`Example app listening on port ${port}`)
})
This updated code adds the openai generator route to our server script. The generator route is basically a rewrite of the the quickstart example provided by OpenAI, so that it works with ExpressJs. The server script makes all the API calls to OpenAI, so feel free to come back to this later and play around with it for fun!
We also must install the OpenAI API, and dotenv to read the access keys in our .env folder. We do this by running the following install scripts:
npm install openai
npm install dotenv --save
Now we can run our server with the foll0wing command from the server directory to start our sever:
node server.jsFinally, let's rewrite the VueJs frontend
First, let's rewrite our App.vue file. You can find this in the client\src\ directory. Basically, we are rewriting the OpenAI quickstart example from React to Vue as follows:
<template>
  <div>
    <Head>
      <title>OpenAI Quickstart</title>
      <link rel="icon" href="/dog.png" />
    </Head>

    <main class="main">
      <h3>Name my pet</h3>
      <form @submit.prevent="onSubmit">
        <input
          type="text"
          name="animal"
          placeholder="Enter an animal"
          v-model="animalInput"
        />
        <input type="submit" value="Generate names" />
      </form>
      <div class="result">{{result}}</div>
    </main>
  </div>
</template>

<script lang="ts">
	import { defineComponent, onMounted, ref } from 'vue'
  import axios from 'axios'

	export default defineComponent({
		data() {
			return {
				animalInput: "" as string,
        result: "" as string,
			}
		},
		methods: {
			onSubmit() {
        try {
          axios
          .post("/api/generator", { animal: this.animalInput })
          .then((response) => {
            this.result = response.data.result;
          }, (error) => {
            throw error || new Error(`Request failed`);
          })
        } catch(error:any) {
          // Consider implementing your own error handling logic here
          console.error(error);
          alert(error.message);
        }
      }
		}
	});
</script>

<style>
  @font-face {
    font-family: "ColfaxAI";
    src: url(https://cdn.openai.com/API/fonts/ColfaxAIRegular.woff2)
        format("woff2"),
      url(https://cdn.openai.com/API/fonts/ColfaxAIRegular.woff) format("woff");
    font-weight: normal;
    font-style: normal;
  }
  @font-face {
    font-family: "ColfaxAI";
    src: url(https://cdn.openai.com/API/fonts/ColfaxAIBold.woff2) format("woff2"),
      url(https://cdn.openai.com/API/fonts/ColfaxAIBold.woff) format("woff");
    font-weight: bold;
    font-style: normal;
  }
  .main,
  .main input {
    font-size: 16px;
    line-height: 24px;
    color: #353740;
    font-family: "ColfaxAI", Helvetica, sans-serif;
  }
  .main {
    display: flex;
    flex-direction: column;
    align-items: center;
    padding-top: 60px;
  }
  .main .icon {
    width: 34px;
  }
  .main h3 {
    font-size: 32px;
    line-height: 40px;
    font-weight: bold;
    color: #202123;
    margin: 16px 0 40px;
  }
  .main form {
    display: flex;
    flex-direction: column;
    width: 320px;
  }
  .main input[type="text"] {
    padding: 12px 16px;
    border: 1px solid #10a37f;
    border-radius: 4px;
    margin-bottom: 24px;
    outline-color: #10a37f;
  }
  .main ::placeholder {
    color: #8e8ea0;
    opacity: 1;
  }
  .main input[type="submit"] {
    padding: 12px 0;
    color: #fff;
    background-color: #10a37f;
    border: none;
    border-radius: 4px;
    text-align: center;
    cursor: pointer;
  }
  .main .result {
    font-weight: bold;
    margin-top: 40px;
  }
</style>
Congrats for setting up your Vue3 app with OpenAI!
You should now have a working app that harnesses the power of AI and ChatGPT (or text-davinci). Refresh your http://localhost:5173/ to see it. When you enter an animal in the text box, the AI API will give you suggestions for 3 names for this animal. Now that you have the initial setup, feel free play around with all the possibilities that this AI technology brings!